Taping The Wing Tip

Taping Wing Tip

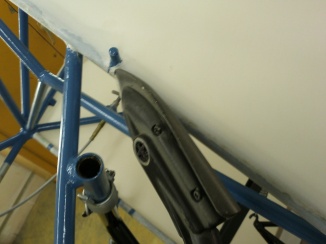
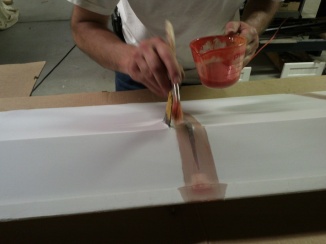
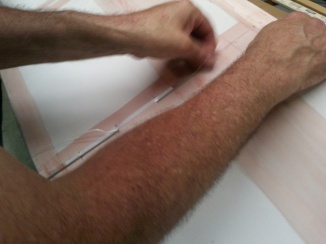
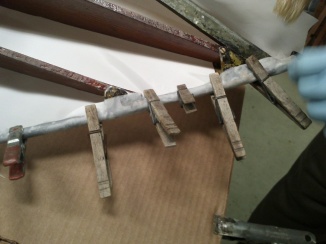
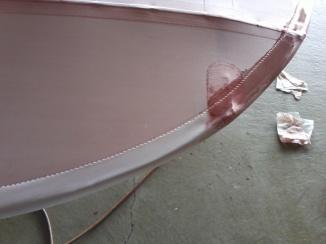
Here we are taping the final tape that goes around the tip of the wing. It is a curved edge so it can be a bit of a challenge. We use a cross cut piece of tape, that means it can stretch around the edge of the wing. It takes up all the slack so you don’t see wrinkles where there would normally be extra tape. We first line up the tape and use clothes pins to hold it into place. Taking Poly-brush we tack the first few inches to have a good starting point and going 6 to 8 inches at a time we lay the tape down setting it in place. This can be a trick to get it looking straight or curved evenly around the edge. In the summer Poly-brush dries very quickly so we have to work quite fast to get all the tape on evenly. You get a few bubbles where the steel tubing structure is attached to the wood structure, we will take an iron later to shrink these out. Hopefully after a few coats of silver all the little bumps and ripples will be hidden and smooth.

A few weeks ago I had a chance to go to Oshkosh and see a lot of fabric covered aircraft. It really makes a difference on how much time you spend on the fabric during the prep time. There were some beautiful aircraft there, with nice seams and edges all ironed out. There were also some that are a great example of a rushed job, still flyable but of a lower quality and higher drag. Hopefully we can have the Eaglet at Oshkosh next year!

Ironing Fabric on the Fusalage

Ironing Fabric on the Fusalage

We had to go around the whole fuselage with an iron and smooth out any spots on the tubes that didn’t lay down nice. The corners and seams were gone over to be sure that they were all smooth. This fabric does shrink up to 10 percent when heat is applied. If there was a wrinkle or something in the fabric we would heat it up to get them out now before they become a problem later. This part does take a lot of time but the product is much better than if you were not to spend the time.
Some tips to remember, if you shrink the fabric too much you could crush the structure. We had a bit of a problem with this on the turtle deck area of the fuselage. The structure was not strong enough so the fabric pulled it a little. One other thing to remember, irons are hot! Yea, I burnt myself, I guess if you work with the iron for a few hours it is bound to happen.

Fabric Covering the Aileron

Fabric Covering the Aileron

Here we are covering the aileron with fabric. We use the poly-tac to get the fabric to stick well to the surfaces of the aileron. As you can see in the picture we use clothespins to hold the fabric in place as we are gluing it down. We also will run our finger down the edges of the aileron to make sure we don’t have any big bumps in the glue. It is a lot easier to get them out now rather than with an iron later. The fabric doesn’t need to be pulled too tight because we are able to shrink the fabric down later after all the glue has cured.